The Dirtsurfer's Swing Arm bearings are generally a much overlooked part of the board. They tend to suffer from a high rate of wear due to the spec of the components used during manufacture and their exposed location on the board.
The stock races are made of steel and are not fully sealed. They will let water and grit inside, and will rust and seize up suprisingly quickly in some environments. Once the bearings have seized, the swing arm tends to pivot on the bolt instead causing the sort of wear you can see lower down in this guide.
This guide will take you through changing the swing arm bearings in your 'Surfer step by step. You will need a few tools, and something firm to rest the frame against when you tap (OK - clout) the old races out of their housings. I would recommend you replace them with stainless 6301s with rubber seals, and (here comes the shameless plug) I can supply them at very reasonable rates. Email me at bearings at mustbemad dot com for details. The seals on the units I can supply will help to keep the elements out of the bearings, although a total seal is almost impossible to achieve - especially on sand. Stainless races may get dirt inside but they will at least not rust.
If you are really keen, you could even remove the rubber seals and service them. Or you could just buy another set from me!
Lastly, don't start this till you have the new bearings. The old ones will probably be so shot you won't want them back in once you have got them out.
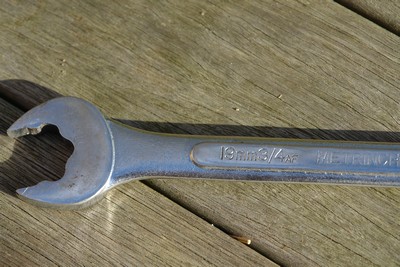
Equipment. You will need a pair of 19mm ring spanners - or sockets - or one of each. The nuts will be very tight. Other stuff which will be helpful will be a fine file or emery paper to clean out the housings, and a selection of screwdrivers. I also find a large glass of whisky helps to make the process much more enjoyable.
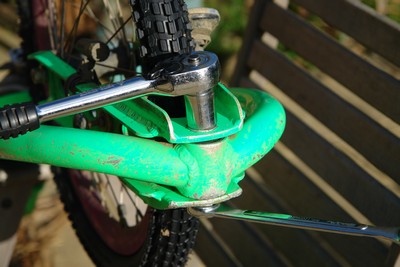
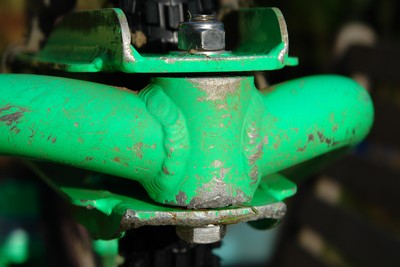
Get the 'Surfer in a position where you will be able to put significant pressure on the spanners to undo the nut. I have resorted to wedging the back wheel under the car to stop it turning over! NB - your wife or girlfriend's mother's best garden furniture is not suitable for this!
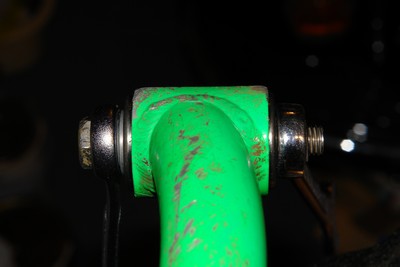
Once you have undone the nut, the fun starts. In bad cases - like mine - you can see that the spacers have worn into the alloy of the arm and are now a loose fit. This will allow the arm to move about despite the nuts being tight. This will lead to more wear of the holes and earlier failure of the bearings. There are two solutions here - Stick the spacers in with epoxy - or get a new arm. I have done the former, and it seems to work OK.
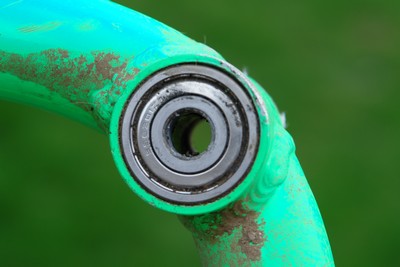
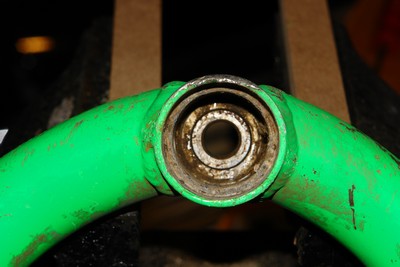
This is the view down the bolt hole. To knock the bearings out, you need to move the spacer so it looks like…
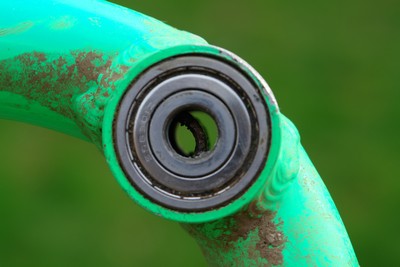
...this. Guddle with a screwdriver till its in the right place.
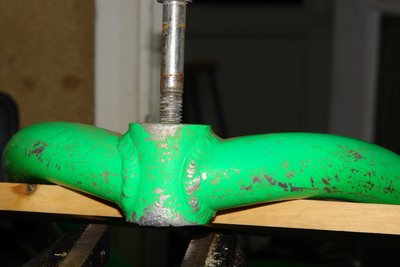
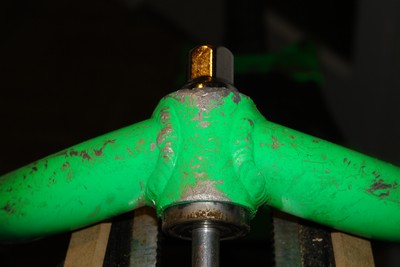
Rest the front of the frame over a block of wood or similar to support it fully. You want a good spread of contact here as close to the nose as possible - or you may end up denting or bending the tubing - not good. Place the swing arm bolt against the spacer you just moved, then apply a little gentle persuasion with a hammer...
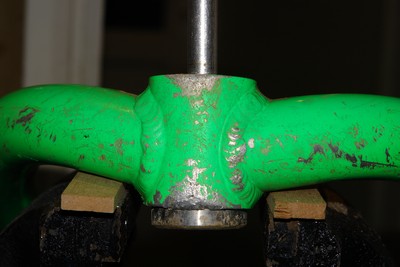
...and the lower bearing will start to come out. Keep that frame supported on something soft at all times, and only use as much force with the hammer as is needed. Unfortunately, this method will make the spacer a little ragged on its edges, but its probably the only practical way of getting the blighter out.
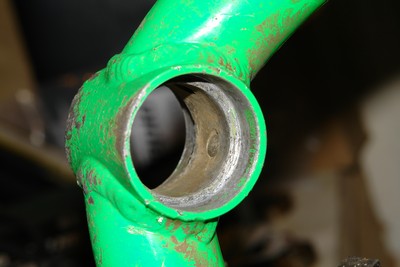
Now for the other one. You can see all the Llangennith muck that's collected inside!
Use what ever is to hand as a drift to push the other bearing out. I put the bolt back through, so the head was inside the housing. I then grabbed the spark plug socket from my socket set, and used that to tap the other bearing out.
Once they are out, clean up the housing with a fine file or emery. Again, the wife's nail file is not a good idea. Nor is a kitchen knife. I also cleaned up the burrs on the underside with a file to make everything a bit neater. Last thing to do is to give the faces a smear of Copaslip grease. It will mean that next time you do this you wont have to bash the hell out of it to get the bearings out. You can get it from Halfords - otherwise you could use regular stuff or even earwax I guess.
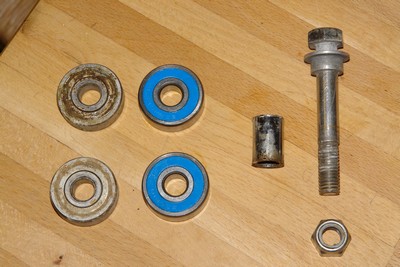
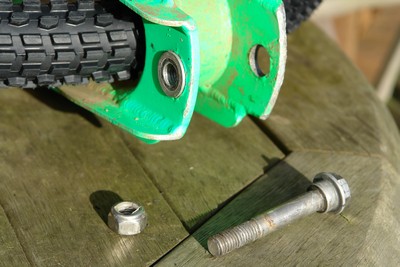
Here are the old & new bearings, spacers, nut & bolt.
To get the new bearings back in, place them by hand WITHOUT FORGETTING THE SPACER! Then use the nut & bolt to wind them into place by tightening till they sit home nice & snug against the lip in the housings. If the fit is very tight, you may want to put a large washer on either side of the bearings to spread the load onto the bearings' outer shells. This will prevent possible damage as they are pushed into the housing.
That done, you can pop the swing arm back on and do the nut up nice & tight. Before you ask, the nut goes on the top! The spacer between the bearings should prevent damage by over tightening, but don't overdo it!
That's it - now get out there and ride - but finish your whisky first.
Foilman.